
Guide
PhotoCraft tutorial: from a fresh clone to a saved document
Build the editor from source, then open a document, add a live adjustment layer and save a layered PSD.
Skip the build if you just want to edit
You do not have to compile anything to try PhotoCraft. The ArtCraft team ships a browser build, and the project publishes installers for every desktop platform. Building from source is the right choice when you want the latest commit or you plan to contribute.
How to install PhotoCraft from source and build it
Six steps take you from an empty terminal to a saved layered document. The commands below are the ones published in the official README, so they are safe to run as written.
Reviewed against the official README on 2026-10-10
- 01
Check the prerequisites
PhotoCraft is a Rust workspace, so it builds with the standard Rust toolchain, and you fetch the code with git. Confirm both are on your machine before you start. If either command is missing, install that tool first and reopen your terminal.
cargo --version git --version - 02
Clone the repository
Clone the official repository and move into the checkout. Everything needed to build the desktop app and the command line tool lives in this single workspace.
git clone https://github.com/storytold/photocraft cd photocraft - 03
Build and launch the editor
The first release build compiles the whole workspace and is the slowest step by far, so give it time. When it finishes, the desktop app opens. Naming a document on the command line opens that file as soon as the editor is ready.
cargo run --release -p photocraft -- image.psd - 04
Create or open a document
With the editor running, start a new document and pick a canvas size, or open a file you already have. Layered PSD and PSB documents open natively, as does the project's own .pcraft format, alongside flat formats such as PNG, JPEG, TIFF and WebP.
- 05
Work with layers and an adjustment layer
Add a layer and paint or place content on it, then add an adjustment layer such as Curves or Levels above it. Adjustment layers stay live: you can reorder them, mask them to part of the image, or switch them off at any time without changing the pixels underneath.
- 06
Save the document and check the round trip
Save the result as a PSD. Faithful round trips are a core goal, and re-saving keeps the rendered result for 307 of the 309 files in the psd-tools test set. A re-saved file is not byte-identical to its source, so compare the finished image rather than the raw bytes.
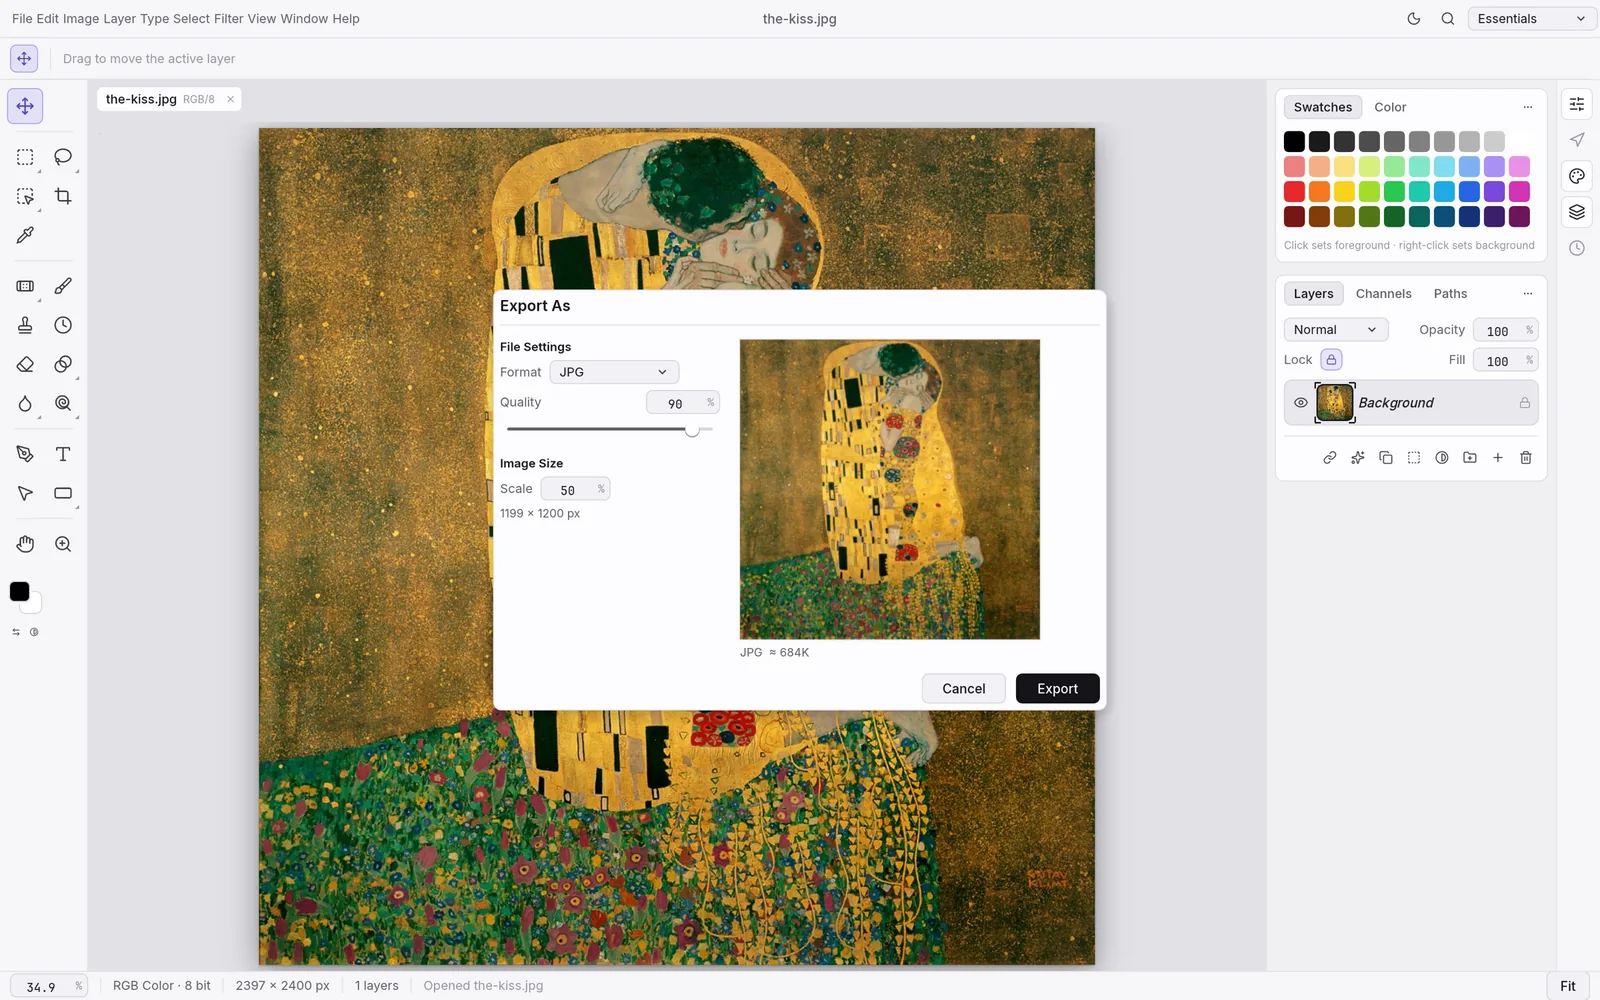
What a finished first document looks like
A caption card with a drop shadow, a live type layer, and Curves and Vibrance adjustment layers stacked above the image. The pixels underneath never change.
The layer stack is the centre of the workflow. Pixel layers hold artwork, adjustment layers change how everything below them renders, and type stays editable. Because adjustments stay live, you can return later and tune the result instead of committing it early.
When the document looks right, save it as a PSD and reopen it to confirm the layers survived. If you want to automate the same session, the project's headless CLI can replay these steps without a window.
PhotoCraft install questions
This site is an independent guide and is not affiliated with the PhotoCraft project or the ArtCraft team.
Try it before you compile anything
Start in the browser, or grab a signed installer for your platform. Come back to the build steps when you want the newest commit.